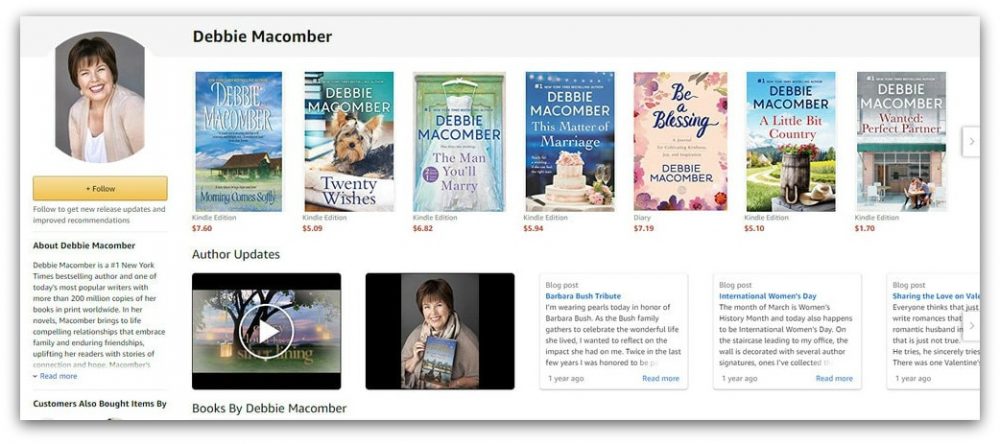
In today’s digital age, establishing a strong online presence as an author is essential for success.
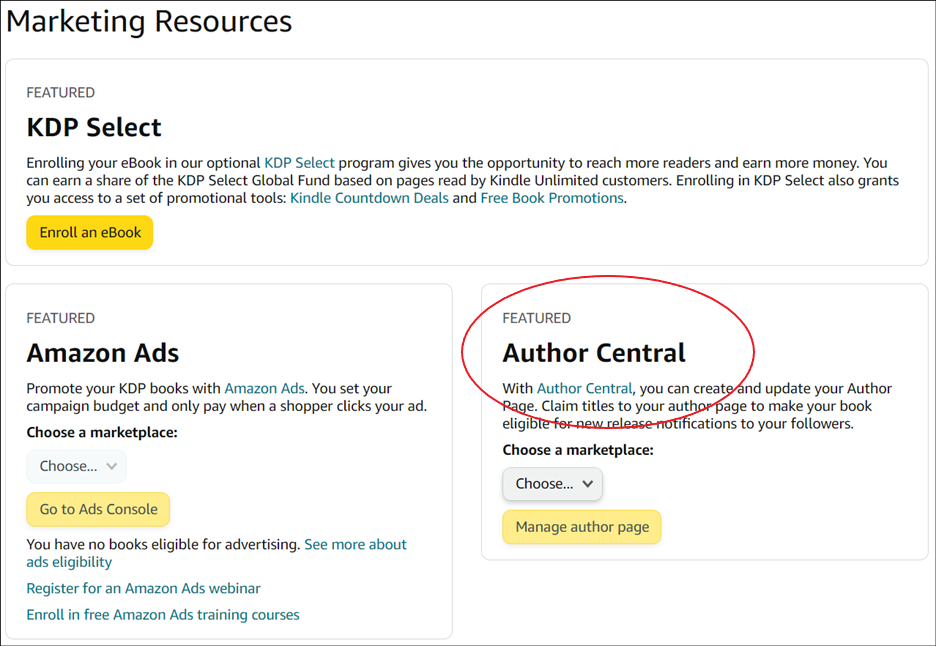
One platform that plays a significant role in connecting authors with readers is Amazon Author Central.
This comprehensive guide will walk you through the step-by-step process of setting up your author page on Amazon Author Central in 2023, ensuring that you optimize your visibility and reach.
Step 1: Create an Amazon Author Central Account
To begin, you need to create an Amazon Author Central account. Follow these simple steps:
- Visit the Amazon Author Central website (authorcentral.amazon.com).
- Click on the “Join Now” button.
- Sign in using your regular Amazon account or create a new one if you don’t have an existing account.
Step 2: Add Your Biography
Your author biography is an opportunity to captivate readers and provide them with insights into your background and writing journey.
Follow these tips to craft an engaging biography:
- Be concise and compelling.
- Highlight your writing accomplishments and relevant experiences.
- Share your passions, interests, and personal anecdotes that resonate with readers.
- Consider including links to your website, blog, or social media profiles to enhance discoverability.
Step 3: Upload Your Author Photo
A professional author photo helps establish your credibility and makes a positive first impression on readers.
Keep these guidelines in mind when choosing and uploading your author photo:
- Opt for a high-resolution image.
- Choose a photo that reflects your brand and writing style.
- Ensure the photo is well-lit and visually appealing.
- Aim for a friendly and approachable demeanor.
Step 4: Add Your Book Titles
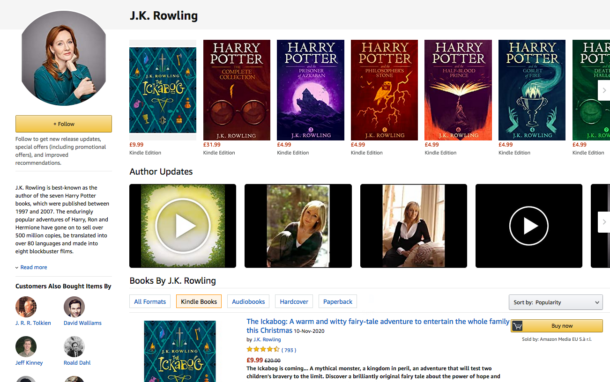
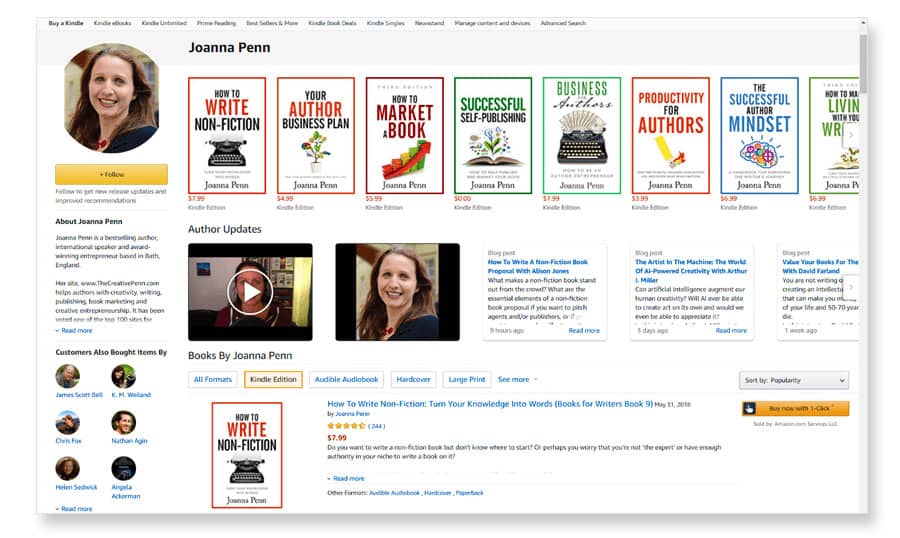
Amazon Author Central allows you to showcase your published works and link them directly to your author page.
Follow these steps to add your book titles:
- Click on the “Books” tab.
- Select “Add more books” and enter the book’s ISBN, title, or author name.
- Once your book appears in the search results, click on it to claim it as yours.
- Repeat this process for each of your published books.
Step 5: Customize Your Author Page URL
Creating a custom URL for your author page improves its shareability and memorability.
Follow these instructions to personalize your author page URL:
- Click on the “Profile” tab.
- Under the “Author Page URL” section, click on the “Add a custom URL” button.
- Enter your preferred URL (e.g., authorname or authornamebooks).
- Check for availability and make sure it aligns with your author brand.
- Save your changes.
Step 6: Utilize the Author Page Features
Amazon Author Central offers several additional features to enhance your author page and engage with readers.
Here are some key features you should consider utilizing:
- Author Updates: Keep your readers informed about your latest releases, events, or other updates.
- Bibliography: Maintain an up-to-date list of all your published works.
- Editorial Reviews: Showcase positive reviews and endorsements from reputable sources.
- Videos: Upload book trailers or author interviews to provide visual content.
- Events: Promote book signings, speaking engagements, or virtual events to connect with your audience.
Step 7: Monitor and Respond to Customer Reviews
Interacting with readers and responding to customer reviews demonstrates your engagement and commitment as an author.
Regularly check your author page for new reviews and follow these guidelines:
- Thank reviewers for their feedback, even if it’s negative, and address any concerns politely.
- Avoid getting into arguments or engaging in defensive responses.
- Use constructive criticism to improve your future works.
Step 8: Connect Your Blog and Social Media Accounts
To expand your online presence and increase engagement with readers, it’s beneficial to connect your blog and social media accounts to your Amazon Author Central page.
Here’s how you can do it:
- Blog: In the “Profile” tab, under “Blogs,” click on “Add your blog.” Enter the URL of your blog and save the changes. This will allow your blog posts to appear on your author page.
- Social Media: In the “Profile” tab, under “Social Media,” click on “Add your social media accounts.” Enter the URLs of your social media profiles, such as Twitter, Facebook, Instagram, or Goodreads. This enables readers to easily connect with you on various platforms.
Step 9: Promote Your Author Page
Setting up your author page on Amazon Author Central is only the first step.
To maximize its effectiveness, you need to promote it to reach a wider audience.
Consider the following promotional strategies:
- Share on Social Media: Announce the launch of your author page on your social media platforms. Encourage your followers to visit and follow your page.
- Include in Email Signature: Add a link to your Amazon Author Central page in your email signature. This way, anyone you correspond with will have easy access to your page.
- Guest Blogging: Write guest posts on popular book blogs or author websites. Include a mention of your Amazon Author Central page and its benefits.
- Collaborate with Influencers: Connect with influencers or book reviewers in your genre. Ask them to feature your author page in their content or interviews.
- Cross-Promote with Other Authors: Collaborate with fellow authors to promote each other’s author pages. This can involve sharing links or featuring each other’s work on social media.
Above is a great example promoting the book by K.L. Shandwick.
A Crucial Step in Establishing your Online Presence as a Writer
Setting up your author page on Amazon Author Central is a crucial step in establishing your online presence as a writer.
By following the steps outlined in this guide, you can create a captivating author page that showcases your books, engages with readers, and boosts your visibility on one of the world’s largest online book platforms.
Remember, a well-optimized author page can significantly contribute to your success as an author in 2023 and beyond.
So, get started today and seize the opportunity to connect with readers and expand your literary reach.

