Are you an aspiring novelist with a brilliant idea for a story?
Do you find yourself struggling to organize your thoughts and plotlines? If so, storyboarding could be the perfect solution for you.
Storyboarding is a visual planning technique commonly used in film and television, but it can also be a powerful tool for novelists.
In this comprehensive guide, we will walk you through the process of storyboarding a novel, step by step.
What is Storyboarding?
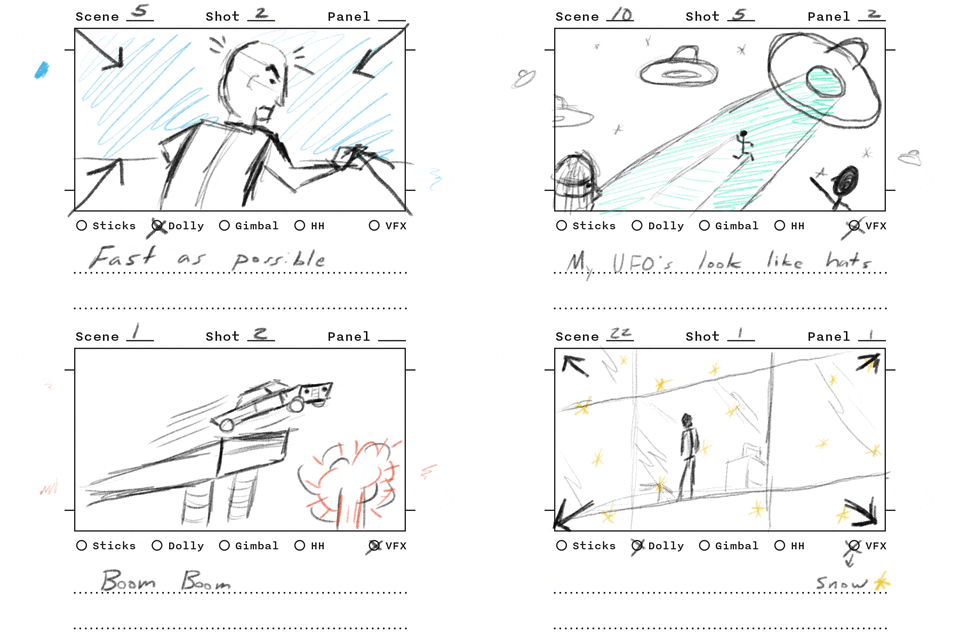
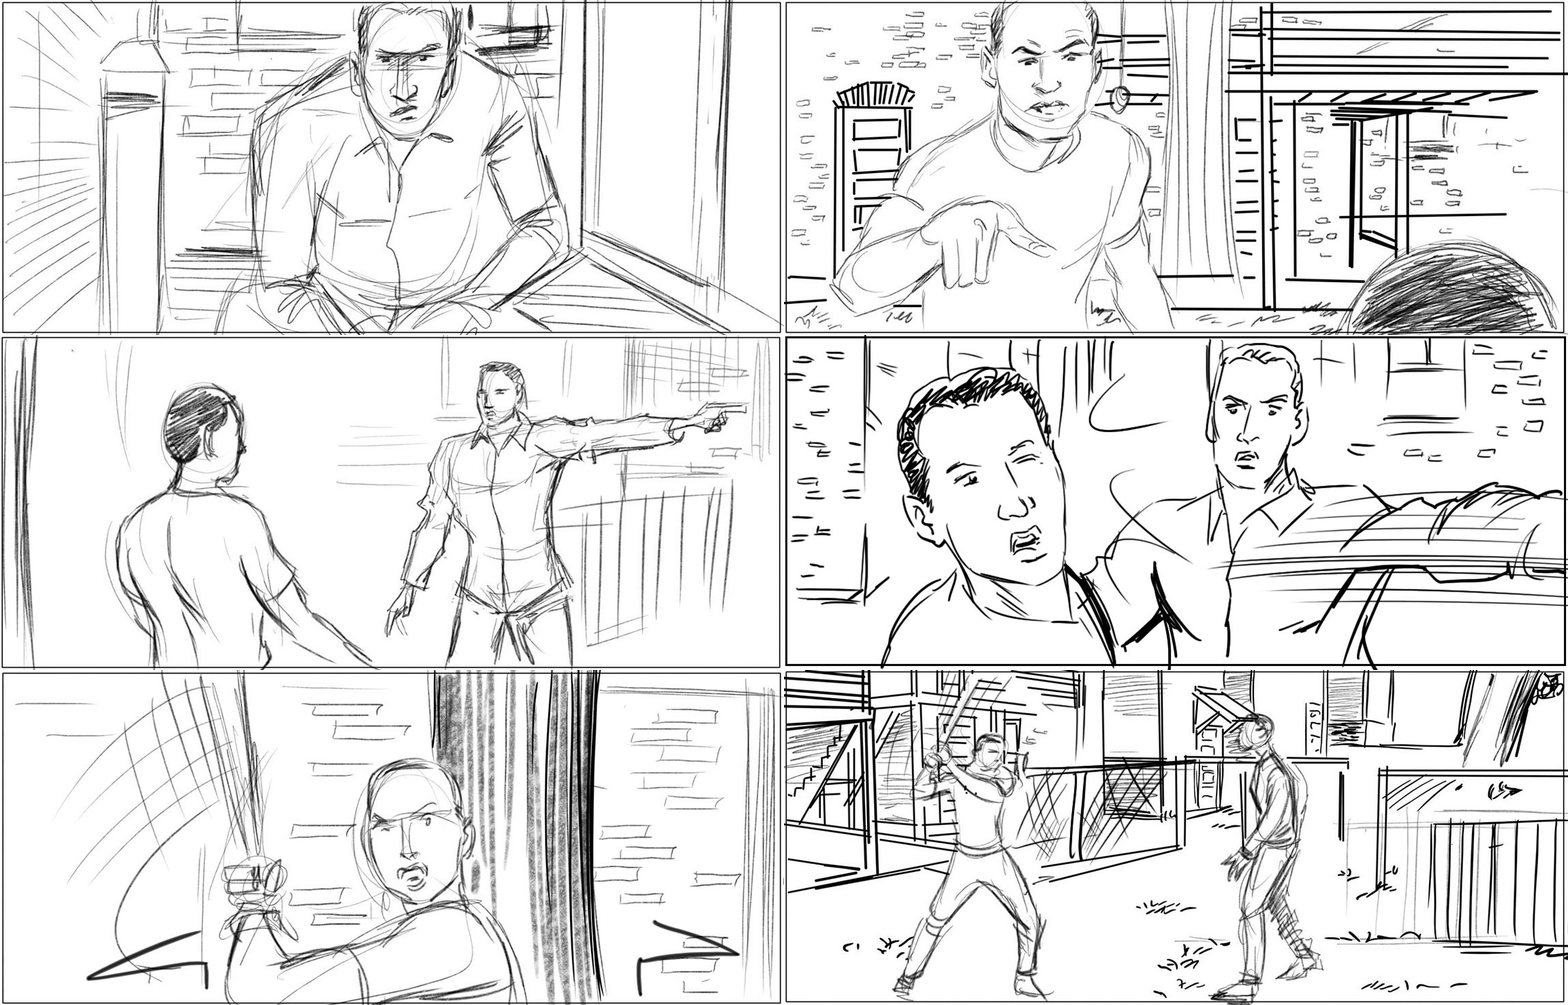
Storyboarding is a visual representation of a story, typically presented in a sequence of panels or cards.
It allows you to outline and visualize the plot, characters, and key events of your novel in a clear and organized manner.
By creating a storyboard, you can gain a holistic view of your story and identify any potential issues or gaps before diving into the actual writing process.
Step 1: Define Your Goals and Themes
Before diving into the nitty-gritty of storyboarding, it’s important to have a clear understanding of your goals and themes.
Ask yourself the following questions:
- What is the main message or theme you want to convey through your novel?
- What are the key goals and motivations of your main characters?
- What emotions do you want to evoke in your readers?
By answering these questions, you will establish a solid foundation for your story and ensure that your storyboard aligns with your overall vision.
Step 2: Identify the Key Plot Points
Next, you need to identify the key plot points that will drive your story forward.
These plot points typically include:
- The exposition: Introduce your main characters and the world they inhabit.
- The inciting incident: The event that sets the story in motion and creates conflict.
- Rising action: A series of events that build tension and lead to the climax.
- Climax: The turning point of your story, where the conflict reaches its peak.
- Falling action: Events that occur after the climax, leading to the resolution.
- Resolution: The conclusion of your story, where loose ends are tied up.
Identifying these key plot points will provide you with a roadmap for your storyboard and help you maintain a well-paced narrative.
Step 3: Create a Storyboard Template
Now that you have a clear understanding of your goals, themes, and key plot points, it’s time to create a storyboard template.
You can either use physical materials like index cards or opt for digital tools like specialized software or online platforms.
Your template should include the following elements:
- Panels: Divide your storyboard into panels or cards. Each panel represents a scene or a specific moment in your story.
- Descriptions: Write a brief description or summary of each scene. Include essential details like location, characters involved, and the purpose of the scene in advancing the plot.
- Visuals: Consider adding simple sketches or images to visually represent each scene. These visuals can help you visualize the composition and flow of your story.
Step 4: Lay Out the Scenes
With your template in place, it’s time to start laying out the scenes. Begin with the first plot point and work your way through the story, panel by panel.
Remember to focus on the key events and make sure each scene contributes to the overall narrative arc.
Some tips to consider during this process include:
- Keep it concise: Aim for simplicity and clarity in your scene descriptions. Avoid getting too caught up in unnecessary details.
- Use transitions: Incorporate smooth transitions between scenes to maintain a cohesive flow and avoid abrupt jumps.
- Experiment with sequencing: Play around with different panel arrangements to find the most effective way to tell your story visually.
Step 5: Review and Revise
Once you have completed your initial storyboard, it’s crucial to review and revise it to ensure its effectiveness.
Take the time to analyze your storyboard from different angles and perspectives.
Here are some steps to follow during the review process:
- Step back and analyze the overall structure: Evaluate the pacing, flow, and progression of your story. Ensure that the scenes are logically connected and build upon each other.
- Assess character development: Pay attention to how your characters evolve throughout the storyboard. Are their actions and decisions consistent with their motivations and goals?
- Check for plot holes and inconsistencies: Look for any gaps or contradictions in your storyline. Make sure that all loose ends are tied up and that the plot unfolds in a coherent and satisfying manner.
- Seek feedback: Share your storyboard with trusted friends, fellow writers, or writing communities. Solicit constructive feedback to gain fresh insights and perspectives.
Remember, the storyboard is a flexible tool, and it’s natural to make adjustments and refinements along the way.
Be open to feedback and be willing to iterate on your initial ideas.
Step 6: Translate the Storyboard into Writing
Once you have a solid and well-reviewed storyboard, it’s time to convert it into the written form.
The storyboard serves as a guide for your writing process, helping you stay focused and organized.
Use the scene descriptions and visuals from your storyboard as references while crafting your prose.
However, don’t be afraid to deviate from the storyboard if inspiration strikes or if you feel that certain changes will enhance the story.
Storyboarding is meant to be a flexible tool that can adapt to the creative process.
Step 7: Finalize Your Storyboard
As you progress with your writing, make sure to update your storyboard to reflect any changes or developments.
Consider it as a living document that evolves alongside your novel.
By keeping your storyboard up to date, you can maintain a clear overview of your story’s structure and ensure consistency.
Storyboarding a Novel is a Valuable Technique
Storyboarding a novel is a valuable technique that can help you plan and visualize your story before diving into the writing process.
By following these steps – defining your goals, identifying key plot points, creating a storyboard template, laying out scenes, reviewing and revising, translating the storyboard into writing, and finalizing the storyboard – you can effectively organize your thoughts, maintain a coherent narrative, and enhance your overall writing experience.
Remember, each writer has their own unique approach, so feel free to adapt these steps to suit your personal style and preferences.
Embrace the creative journey, and let storyboarding guide you towards bringing your novel to life. Happy writing!


